Imagine that you wish to create an animated sequence showing the flight of an object over a landscape. You've created a TIN and have draped images over it to show the area. You also have some data pertaining to a strange phenomenon that has been occurring in the region. You are interested in displaying all the data in a dynamic way, making an animation to tour points of interest, and showing how you made the surface. You would also like to model the phenomenon by moving a layer in the scene.
The tutorial data has already been assembled in the scene document named Animation.sxd. You will use animation tools in ArcScene to effectively convey the points you want to show.
Data was supplied courtesy of MassGIS, Commonwealth of Massachusetts Executive Office of Environmental Affairs.
In this exercise, you will play an existing animation in an ArcScene document, Final Animation_A.sxd, and perform the tasks typically used to create the animation. Note that the majority of steps you'll perform in ArcScene to create the animation are also applicable in ArcGlobe.
Opening the Final Animation_A scene document
In this section, you'll play an animation that demonstrates some effects you can create when you animate a scene.
Steps:
- Start ArcScene by clicking Start > All Programs > ArcGIS > ArcScene 10.
- On the ArcScene - Getting Started dialog box, click Existing Scenes --> Browse for more.
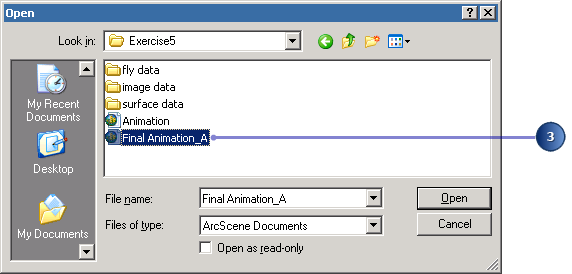
- Navigate to the Exercise5 folder and double-click Final Animation_A ArcScene document.
The Open dialog box appears.
This scene contains geographic information and recorded special effects that have been combined to make an animation.
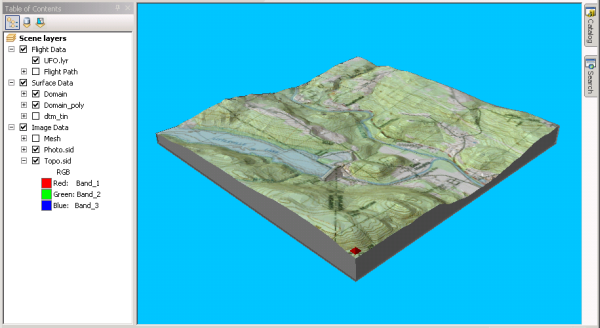
Playing the scene’s animation
To view a scene's animation, you need to have the Animation toolbar accessible in the view.
Steps:
- Click Customize, point to Toolbars, and click Animation.
- Click the Open Animation Controls
 button.
 - Click the Play
 button.
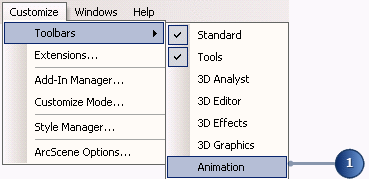
The Animation toolbar appears. Now you'll play the animation.

This animation shows the flight of a hypothetical unidentified flying object (UFO) over the terrain.
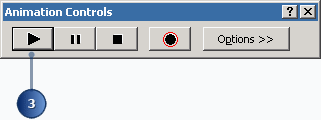
The animation plays, illustrating some of the effects you can use in an animated scene.
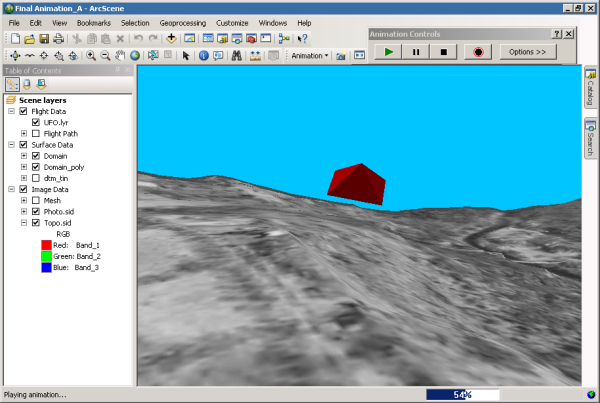
Now you will work through the steps used to make animations like this one.
Opening the Animation scene document
Steps:
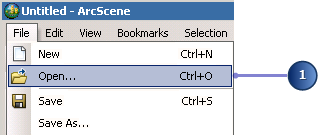
- In ArcScene, click File and click Open.
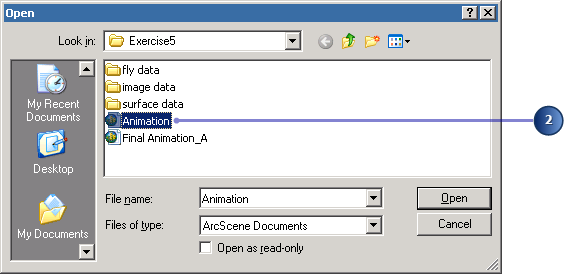
- Navigate to the Exercise5 folder and double-click Animation ArcScene document.
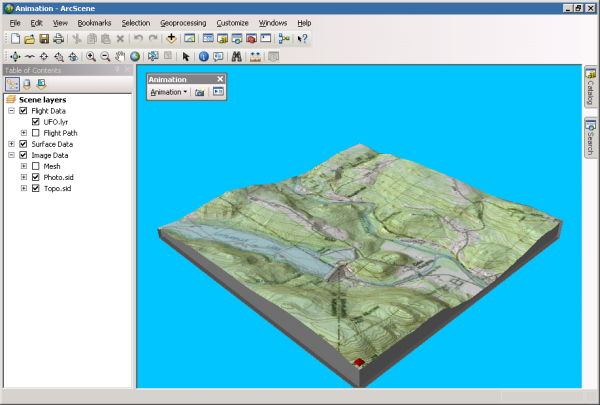
The scene contains an orthophoto, a scanned topographic map, and other data you need to make your animation.
In this section, you'll use the animation tools to capture keyframes, import tracks, play back your animations, and save them to a scene document.
You will use three types of keyframes to capture building your animation. The first is a camera keyframe. A camera keyframe is a snapshot of the view you see in a scene. The second, a layer keyframe, is a snapshot of a layer's properties. The third type is a scene keyframe, which stores properties of a scene. In this section, you will create a simple animation from a set of camera keyframes.
Capturing perspective views as keyframes to make an animation
The simplest way to make animations is by capturing views to be stored as keyframes. The captured views are snapshots of camera perspectives in a scene at a particular time. The most fundamental element of an animation is a keyframe. Keyframes are used as snapshots to interpolate in between a track. You'll create a series of keyframes to make a camera track that will show an animation between points of interest in your study area.
Steps:
- Click the Capture View
 button to create a camera keyframe showing the full extent of the scene.
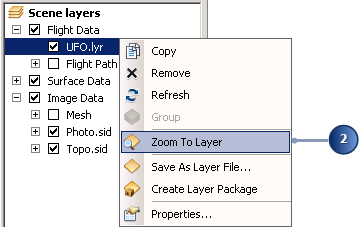
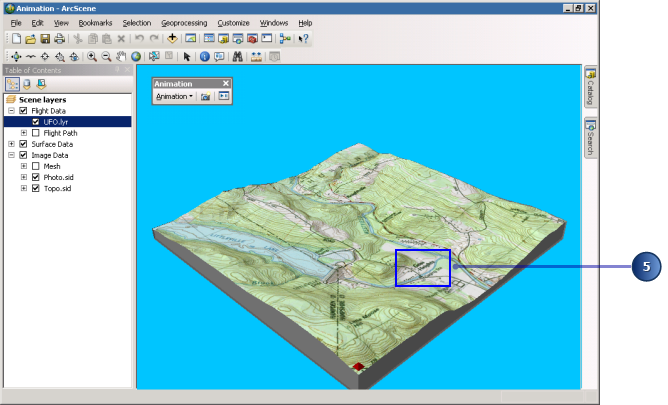
 - Right-click UFO.lyr and click Zoom To Layer.
- Click the Capture View
 button to create a camera keyframe showing the UFO layer.
 - Click the Full Extent
 button to view all the data.
 - Click Zoom In
 on the Tools toolbar and zoom to Goss Heights, located near the center of your view.
 - Click the Capture View
 button to create a camera keyframe of Goss Heights.
 - Click the Full Extent
 button.
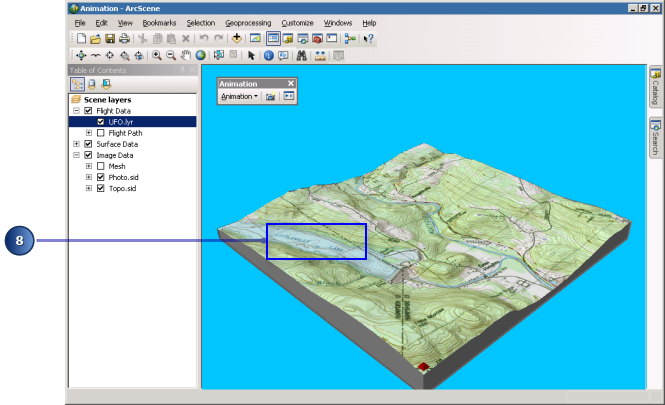
 - Zoom to Littleville Lake using the Zoom In
 tool again.
 - Click the Capture View
 button to capture a view of Littleville Lake.
 - Click the Full Extent
 button.
For a camera keyframe, the object is the virtual camera through which you view the scene. Navigating the scene changes camera properties that determine its position.
ArcScene interpolates a camera path between keyframes, so you'll need to capture more views to make a track that shows animation.
The captured views you just made are stored as a set of camera keyframes in a camera track. When the track is played, it shows a smooth animation between the keyframes. Next, you'll play your animation track.
Playing back your animation
You will play back animations using simple tools that resemble the controls of a movie player.
Steps:
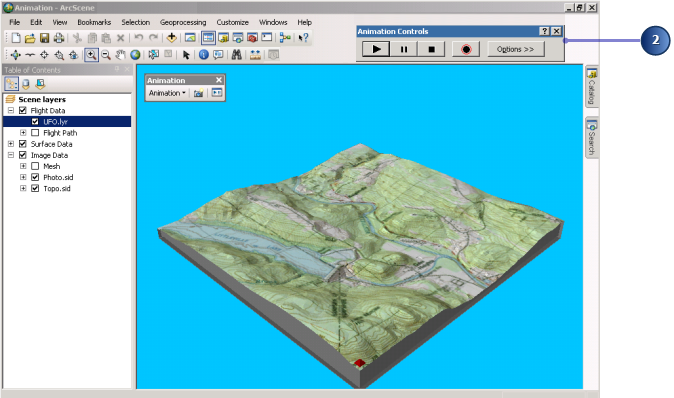
- Click the Open Animation Controls
 button.
 - Click and hold the top bar of the Animation toolbar and drag it to the upper-right corner of the scene so it won't block your view of the tools or data.
- Click the Play
 button.
An animation is played back by interpolating the camera position between the keyframes in the track. In this case, the animation shows a virtual tour through the views you captured.
Clearing an animation
If you want to start over, you can erase all the tracks you created. In this section, you'll remove the tracks you just created so you can improve your animation.
Steps:
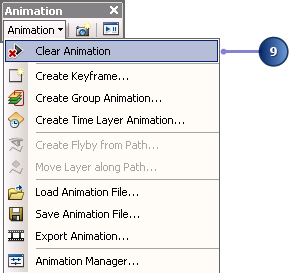
- Click Animation and click Clear Animation.
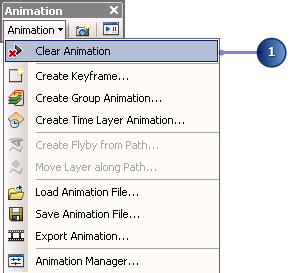
All animation tracks are removed from the scene.
Recording navigation
Another way to create a camera track for an animation is to record in real time while you navigate in a scene. In this section, you will record your view of the scene while you navigate using the Fly tool.
Steps:
- Click the Fly
 tool.
tool. - Click the Record button to start recording your navigation.
- Click once in the center of the scene to activate the Fly tool. You start flying by entering into hovering mode.
- Click once more to begin flying through the scene.
- Press ESC to stop flying.
- Click the Stop button to finish recording.
- Click the Full Extent
 button.
 - Click the Play
 button to see the animation you recorded.
 - Click Animation and click Clear Animation.
The Fly tool allows you to fly through your scenes.

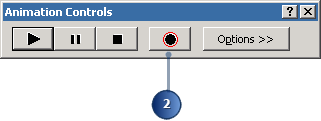
ArcScene begins recording as soon as you click the Record button. If you don't navigate right away, your track will reflect this.
You will know you are recording because the button changes from black to red.
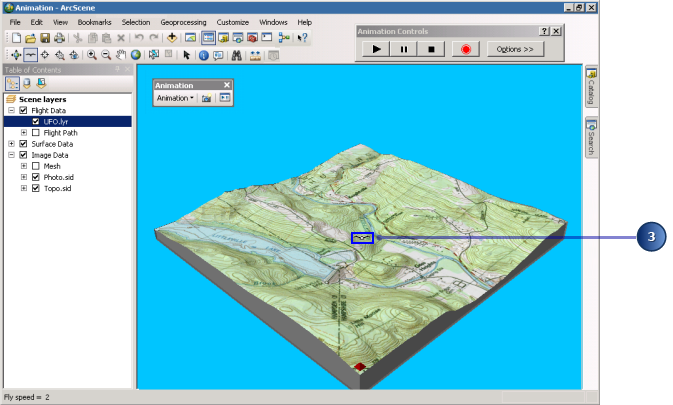
In this mode, your viewpoint follows the cursor. Point in the direction you wish to look.
Point in the direction you want to move. Click again to increase your speed and right-click to decrease your speed. Your speed is indicated in the status bar in the lower-left corner of the ArcScene window.
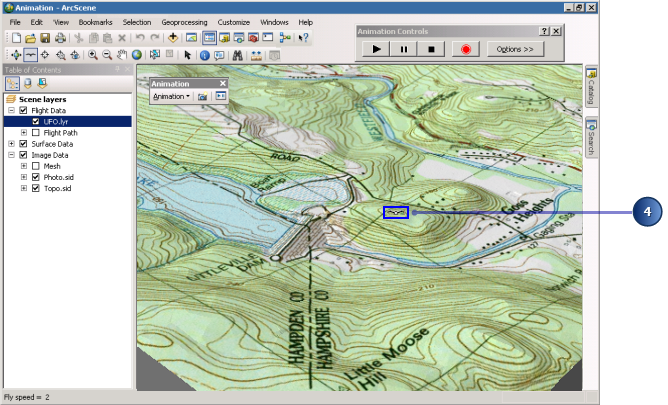
You can also stop flying by clicking the middle button or wheel on the mouse (if you have one) or right-clicking until your speed is zero.
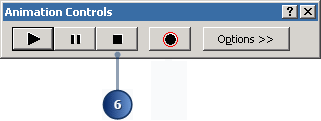
You have recorded your flight path through the scene as a new camera track that began when you clicked theRecord button and ended when you clicked the Stop button.
When you are done viewing the animation you recorded, clear the track so you can make a better one in the next section.


0 commentaires